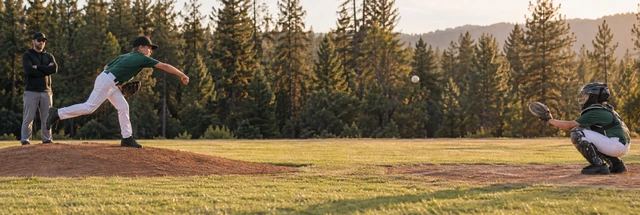
Start with a comfortable throw
Warm up under an adult's plan. Use an easy, balanced motion toward a reachable target before adding intensity. Stop and tell the adult about elbow or shoulder pain.
Field Lesson · PONY Bronco 12U
League ages 9-12 · 50-foot pitching distance · 70-foot bases
Learn first
Read these ideas, then try the situations below. Practice with a coach when a movement is new.
Quiz Mode: try each answer before checking the explanation.
Coach View: use the answers and teaching notes to guide practice.
Warm up under an adult's plan. Use an easy, balanced motion toward a reachable target before adding intensity. Stop and tell the adult about elbow or shoulder pain.
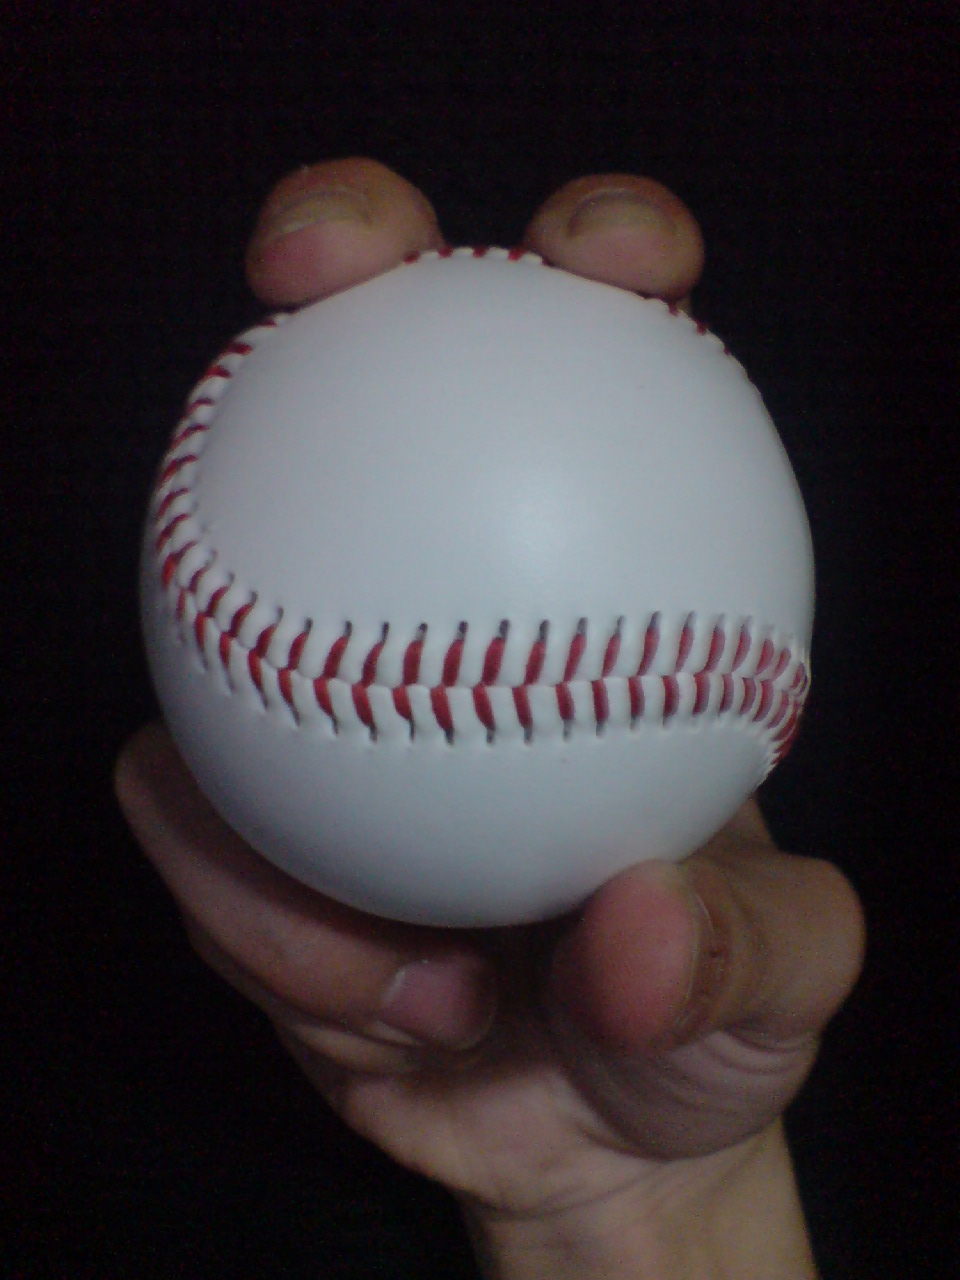
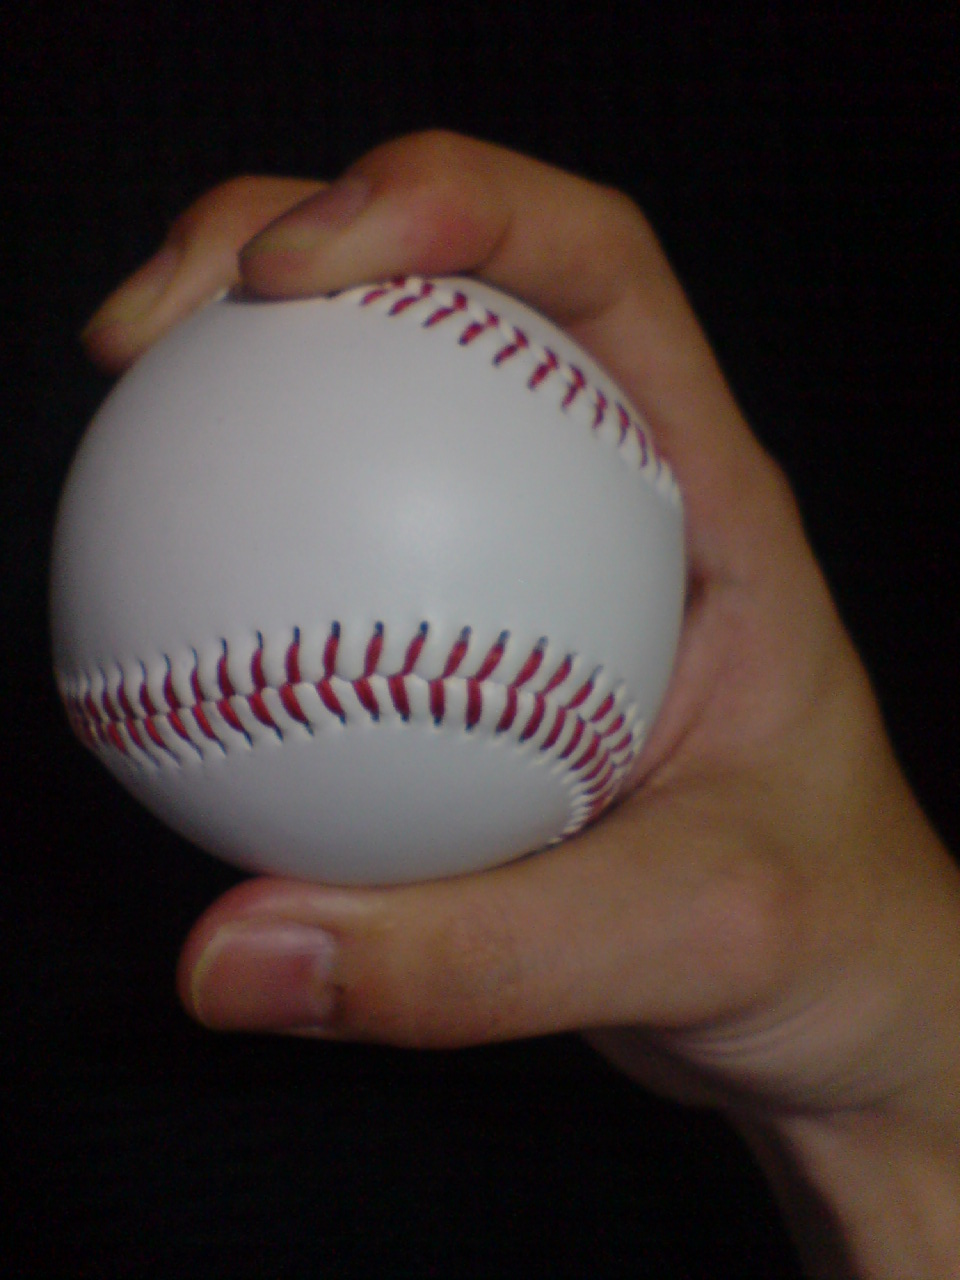
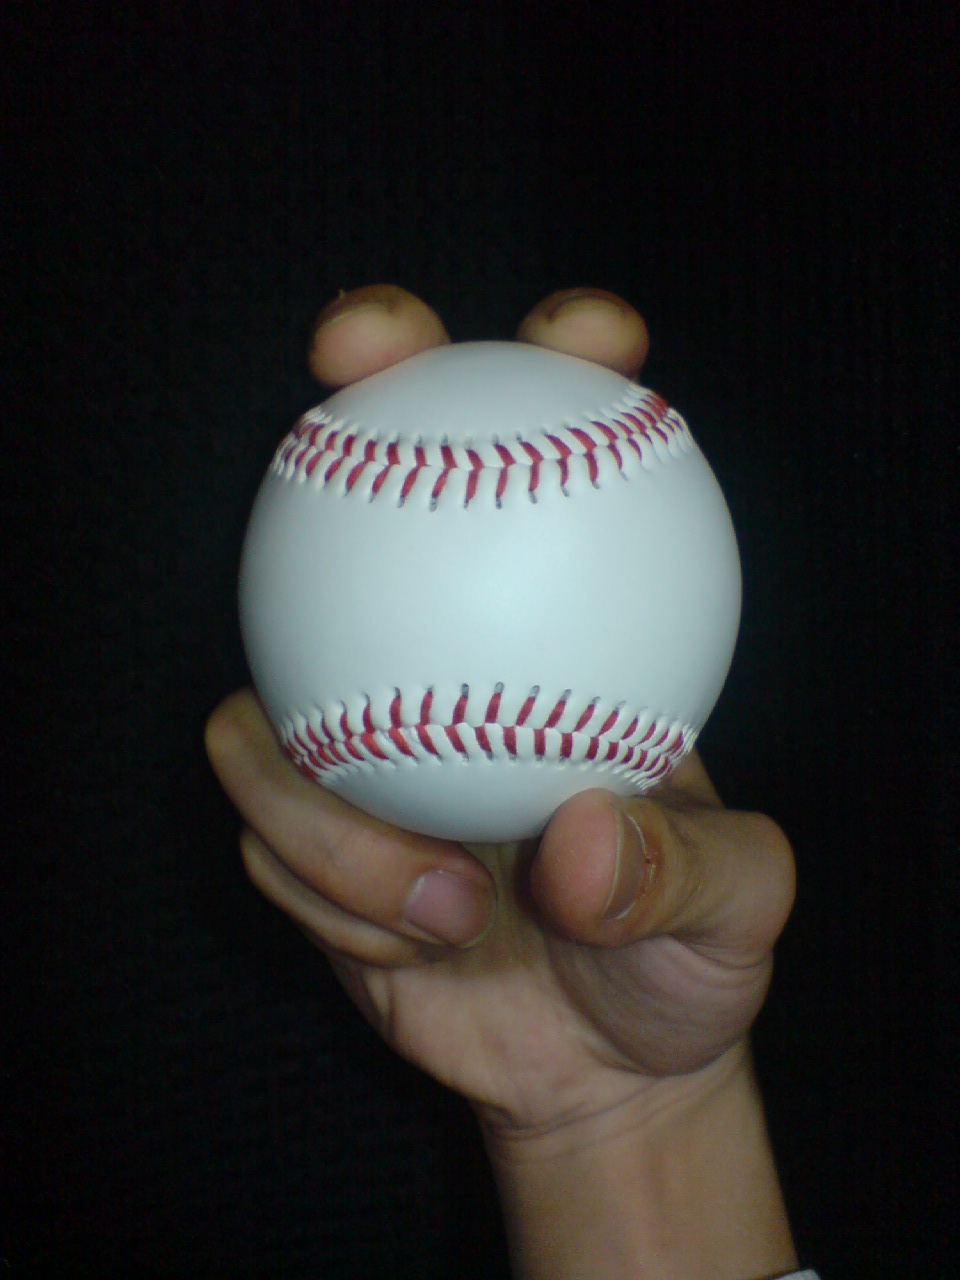
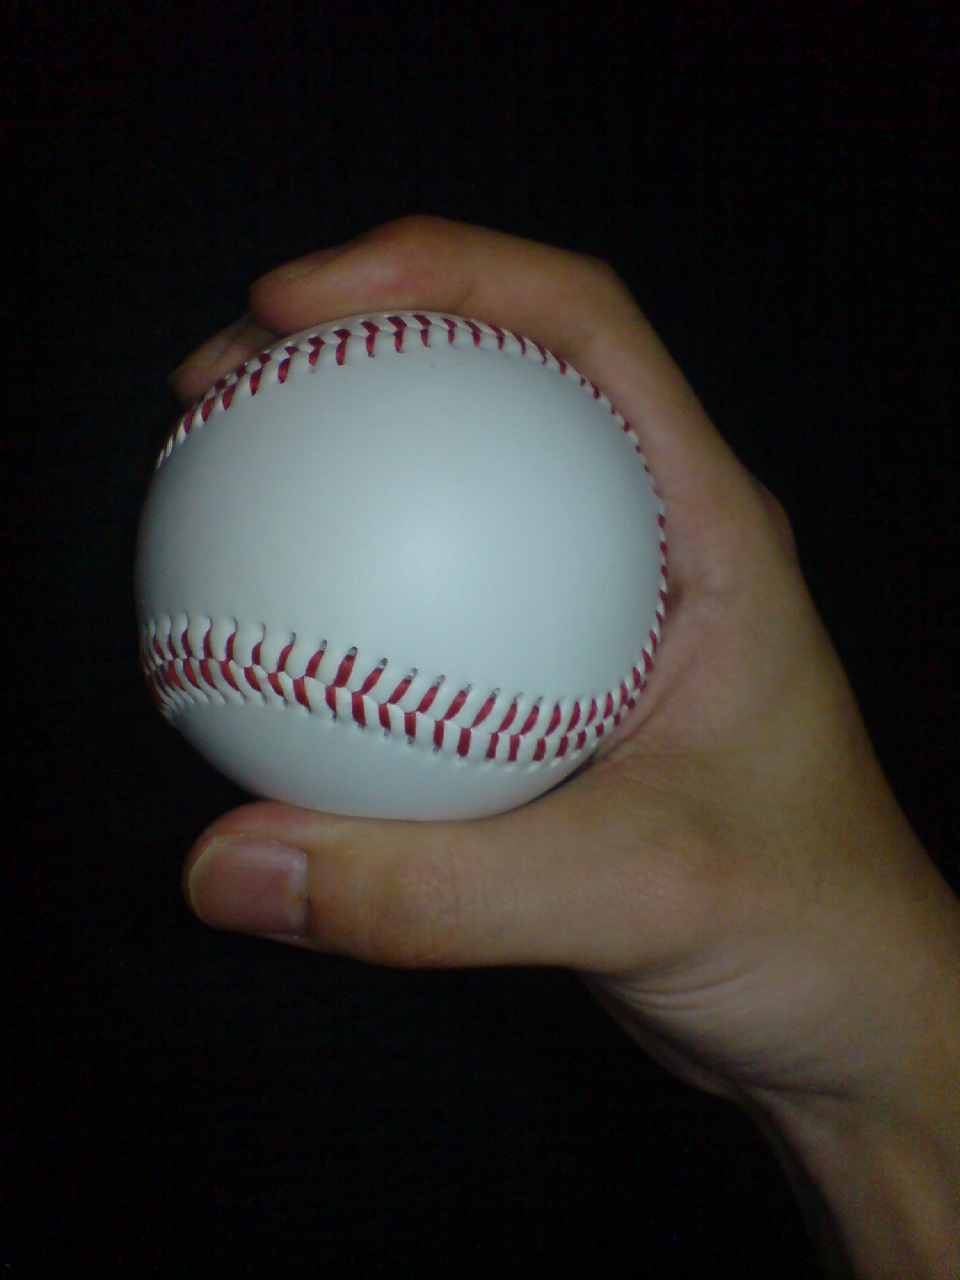
For a basic four-seam fastball, place fingers across the seams with a relaxed hand and comfortable thumb support. A two-seam grip follows the paired seams. Hand size can change the exact placement.
A coach can show a comfortable changeup grip that looks like a fastball delivery but moves at a different speed. Control and a pain-free motion matter more than forcing a particular grip.
Begin balanced, move toward the target, rotate through the throw and finish under control. Rehearse without a ball, then throw at a comfortable effort. A legal set or windup depends on the division and game situation.
The adult records actual pitches and catching use; this checklist is only a learning record. Report fatigue or pain and follow the adult's rest plan.
From 50 feet, rehearse a balanced fastball delivery before trying a comfortable changeup grip. End the set when control or comfort changes.
Section 01
Before throwing, tell the adult about fatigue or elbow/shoulder pain. Pain is a reason to stop pitching and seek medical evaluation, not a cue to push through.
I checked readiness with my coach before this supervised practice.
Use a calm check-in that makes reporting symptoms easy.
Do not turn a checked box into medical clearance.
A player can take part in non-throwing learning while an adult arranges appropriate care.
Related rule or safety source: Safety
Section 02
With a ball in hand and no throw, compare a comfortable fastball grip and a coach-taught changeup grip. Basic throwing comes first; a grip is not a promise of velocity.
I compared the grips under supervision without forcing a painful hand position.
Start with the player's hand size and comfortable control.
Do not force a professional grip on a smaller hand.
This lesson does not prescribe a breaking-ball or weighted-ball program.
Related rule or safety source: Safety
Section 03
During a dry rehearsal, establish balance before moving toward the target. Keep the practice cue simple enough to repeat.
I rehearsed a balanced starting position with my coach.
Observe the whole movement before adding another cue.
A pose that looks right is not proof of a comfortable throw.
Use individual coaching for a persistent movement problem.
Related rule or safety source: Safety
Section 04
With runners aboard, rehearse a complete legal stop in the set position before delivery.
I demonstrated a controlled set-position stop under supervision.
Separate a legal delivery from a legal base throw; begin without live runners.
Do not import the Little League Majors no-stop exemption.
Bronco lead rules do not license illegal pitching mechanics. PONY does not use MLB's pitch clock or disengagement limit.
Related rule or safety source: Balk Leaving a base
Section 05
In a coach-approved throwing progression, aim for a reachable target and prioritize a comfortable repeatable motion over a radar-gun number.
I used the agreed target and stopped when control or comfort changed.
Keep the emphasis on a sound basic throw, then fastball and changeup development.
Do not add maximum-effort throws to chase a screen score.
The checklist records a learning step, not prescribed repetitions or exercise dosage.
Related rule or safety source: Safety
Section 06
The adult reviews league age, all same-day pitching, required rest and readiness. PONY can permit pitching in more than one game on a day within its combined maximum.
I asked the adult to verify the complete day's workload and eligibility.
Use PONY 10(D)-(I), including its final-batter provisions and ban on same-game pitcher return.
A second game is not a new pitch allowance, and numerical eligibility is not medical clearance.
Use the actual game record; these learning checkboxes do not store a pitch log.
Related rule or safety source: Pitching limits Rest Pitching limits Safety
Section 07
After the practice, tell the coach how the arm feels and discuss the next throwing day using the adult's workload record.
I completed the post-practice check-in and know to report pain or fatigue.
Coordinate all throwing commitments rather than treating each team in isolation.
Completing all boxes is not permission for another throwing session.
Keep regular off-season rest and varied non-throwing activity in the longer plan.
Related rule or safety source: Safety
Finish line
Go on to lesson 8, or return to the Bronco Dugout. Review any part from the Sections menu.
Connect learning and practice
Discuss workload, rest, eligibility and stop conditions with a responsible adult. A checklist or quiz result never clears a player to throw. Choose any physical rehearsal deliberately from the complete planner instructions.
Read the complete setup, equipment and stop instructions before activity. A missed question never prescribes extra throwing.
Movement example
Index and middle fingertips cross the seam area. The thumb supports underneath; keep the hand relaxed.
Right throwing hand
Four-seam example: the broad transverse seam and two supporting fingertips are visible.
Photos displayed without content retouch; cropped details and mirrored studies are identified. These photo adaptations retain their stated licences. Photographers and players do not endorse this lesson.
Left throwing hand · mirrored study
Four-seam example: the broad transverse seam and two supporting fingertips are visible. Mirrored study for a left throwing hand; not a separate left-hand photo.
Photos displayed without content retouch; cropped details and mirrored studies are identified. These photo adaptations retain their stated licences. Photographers and players do not endorse this lesson.
Index and middle fingertips follow the close paired seams. Find a comfortable hold with your coach.
Right throwing hand
Two-seam example: the ball orientation differs from the four-seam hold. Finger pads partly hide seam contact; ask your coach to show the paired seams under the fingers.
Photos displayed without content retouch; cropped details and mirrored studies are identified. These photo adaptations retain their stated licences. Photographers and players do not endorse this lesson.
Left throwing hand · mirrored study
Two-seam example: the ball orientation differs from the four-seam hold. Finger pads partly hide seam contact; ask your coach to show the paired seams under the fingers. Mirrored study for a left throwing hand; not a separate left-hand photo.
Photos displayed without content retouch; cropped details and mirrored studies are identified. These photo adaptations retain their stated licences. Photographers and players do not endorse this lesson.
Three fingers can support the basic fastball when two do not fit comfortably. This is a fastball hold, not a changeup.
Right throwing hand
Illustrated front view
View larger image ↗Illustrated side view
View larger image ↗Generated three-finger fastball illustration. Index, middle and ring fingers support the ball; thumb supports underneath. Ask your coach to check comfortable fit.
Generated illustration · example for coach-guided learning.
Left throwing hand · mirrored study
Illustrated front view
Open original, unmirrored image ↗Illustrated side view
Open original, unmirrored image ↗Generated three-finger fastball illustration. Index, middle and ring fingers support the ball; thumb supports underneath. Ask your coach to check comfortable fit. Mirrored study for a left throwing hand; not a separate left-hand photo.
Generated illustration · example for coach-guided learning.
A coach can help you explore a comfortable deeper hold. The ball sits farther into the hand than in the small-hand fastball.
Right throwing hand
Back-of-hand view
View larger image ↗Side view · depth
View larger image ↗A deeper three-finger changeup example. Compare the side view for ball depth and thumb support; the chosen hold must fit the player comfortably.
Photos displayed without content retouch; cropped details and mirrored studies are identified. These photo adaptations retain their stated licences. Photographers and players do not endorse this lesson.
Left throwing hand · mirrored study
Back-of-hand view
Open original, unmirrored image ↗Side view · depth
Open original, unmirrored image ↗A deeper three-finger changeup example. Compare the side view for ball depth and thumb support; the chosen hold must fit the player comfortably. Mirrored study for a left throwing hand; not a separate left-hand photo.
Photos displayed without content retouch; cropped details and mirrored studies are identified. These photo adaptations retain their stated licences. Photographers and players do not endorse this lesson.
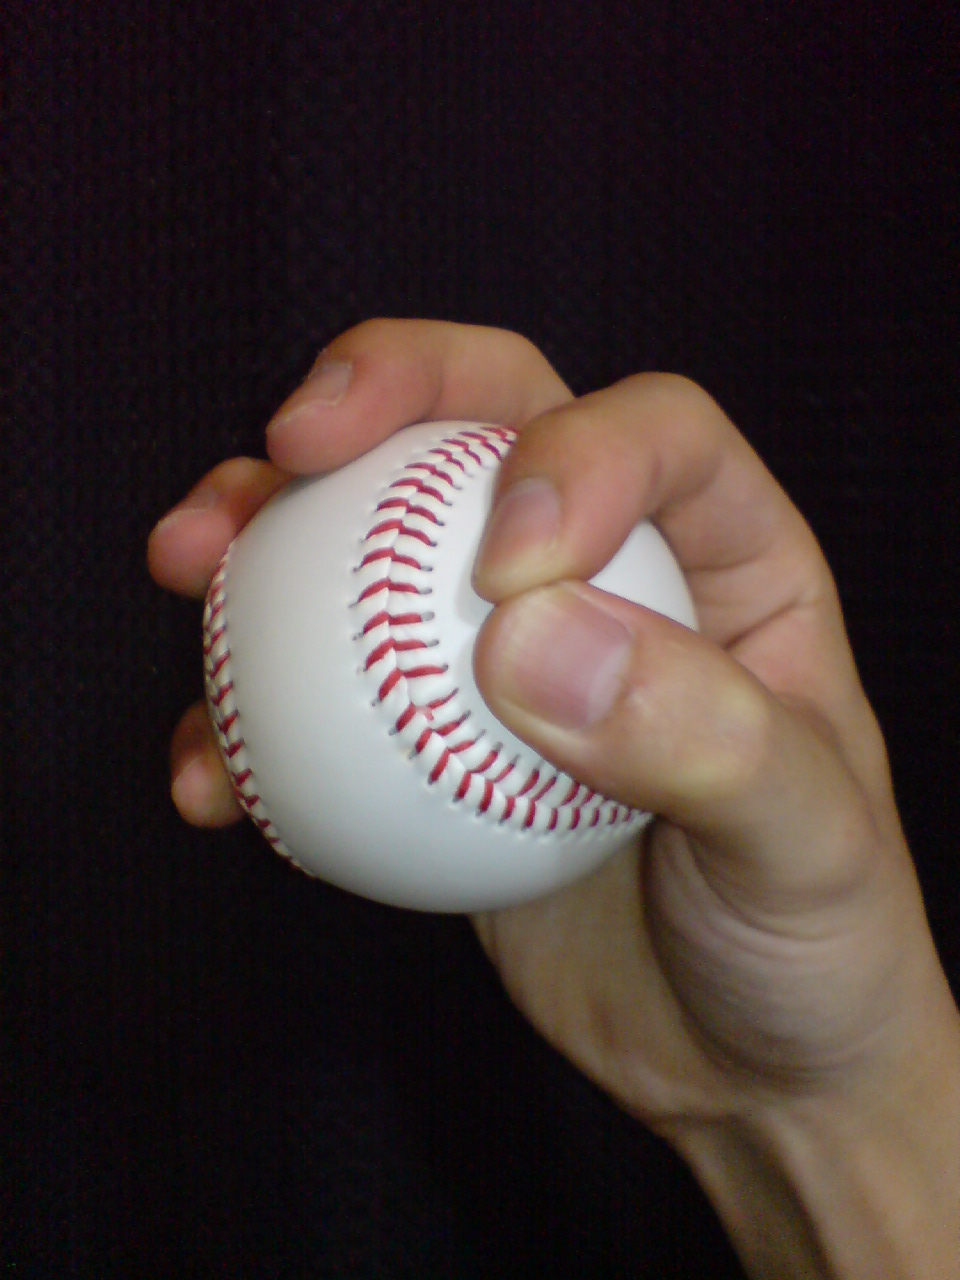
Thumb and index form the circle beside the ball; the other fingers hold it. Use a coach-selected fit rather than forcing the circle.
Right throwing hand
Detail of the same photo
View larger image ↗One actual circle-grip photograph and its enlarged detail. Thumb and index make the circle; remaining fingers support the ball. This is not a separate side-view photograph.
Photos displayed without content retouch; cropped details and mirrored studies are identified. These photo adaptations retain their stated licences. Photographers and players do not endorse this lesson.
Left throwing hand · mirrored study
Detail of the same photo
Open original, unmirrored image ↗One actual circle-grip photograph and its enlarged detail. Thumb and index make the circle; remaining fingers support the ball. This is not a separate side-view photograph. Mirrored study for a left throwing hand; not a separate left-hand photo.
Photos displayed without content retouch; cropped details and mirrored studies are identified. These photo adaptations retain their stated licences. Photographers and players do not endorse this lesson.
Movement example
Real adult delivery example from the set position. Observe how the body connects; use your coach’s own age-appropriate teaching and division rules.
Right-handed photographic example
1 · Setup
Hands together before the motion.
2 · Move
The body begins moving into the stride.
3 · After release
The hand is empty and the motion continues.
4 · Finish
The body follows through over the stride leg.
Right pivot foot at the rubber; the opposite stride foot moves toward the target. This separate overhead diagram shows roles, not required angles or legal footwork.
Left-handed mirrored study · jersey lettering is reversed
1 · Setup
Hands together before the motion.
2 · Move
The body begins moving into the stride.
3 · After release
The hand is empty and the motion continues.
4 · Finish
The body follows through over the stride leg.
Left pivot foot at the rubber; the opposite stride foot moves toward the target. This separate overhead diagram shows roles, not required angles or legal footwork.
Photos displayed without content retouch; cropped details and mirrored studies are identified. These photo adaptations retain their stated licences. Photographers and players do not endorse this lesson.
Learning diagram
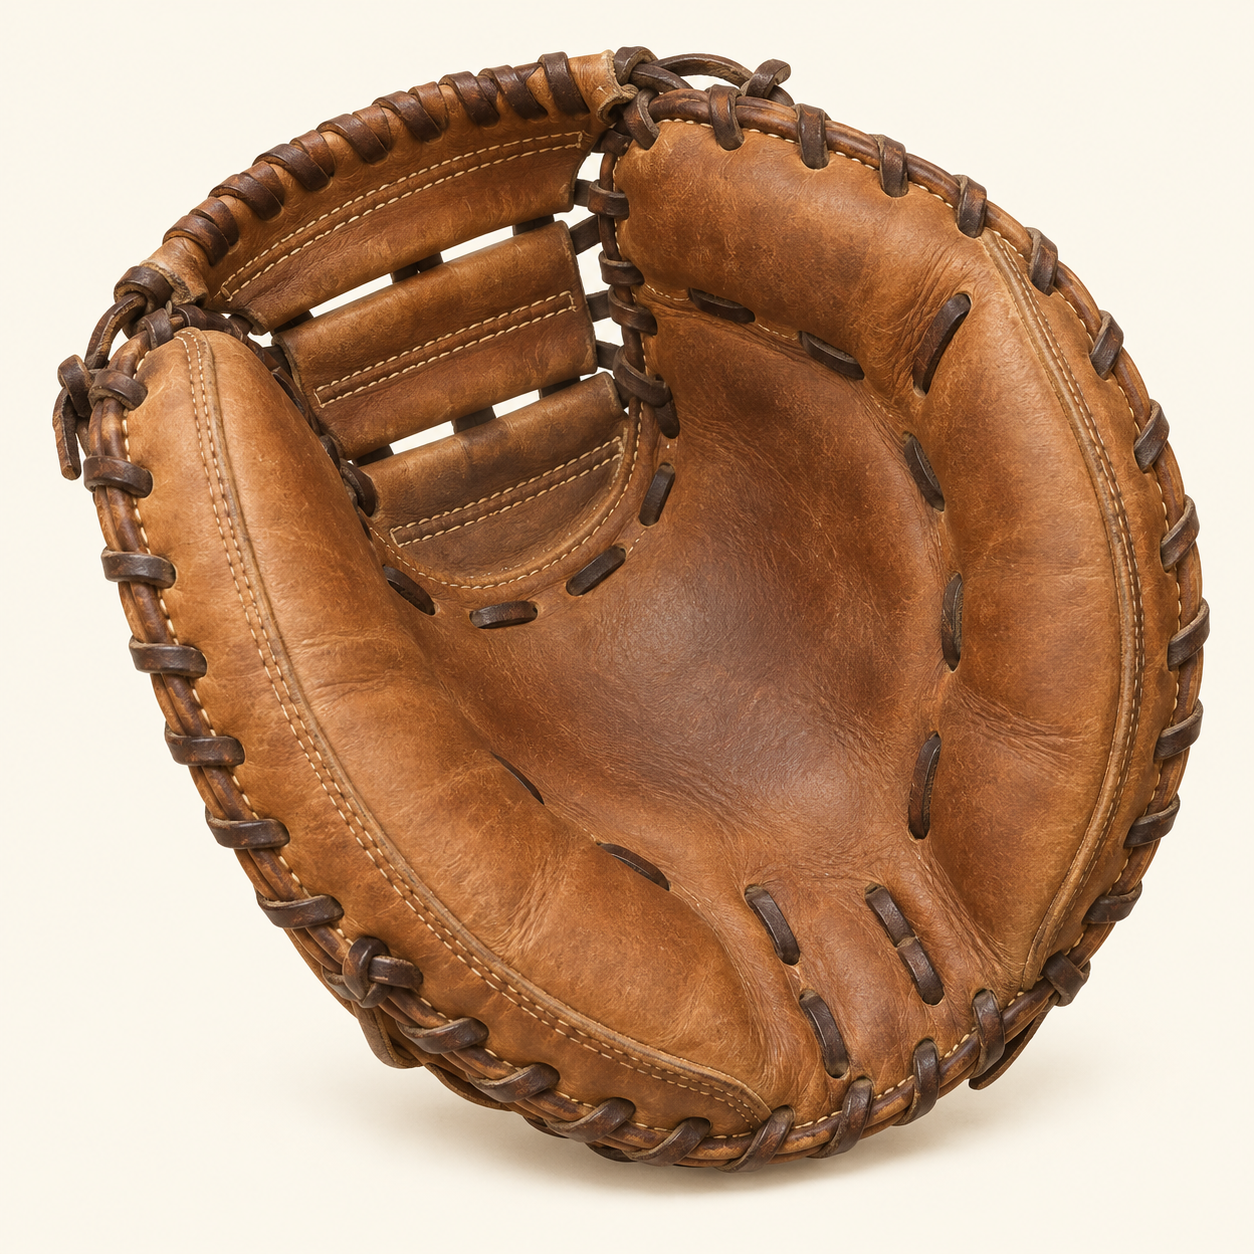
Pocket · agreed target
Generated illustration · example for coach-guided learning.
Learning diagram
Learning diagram
Example · PONY · league age 10 · 40 pitches on Monday
The final batter begins and ends within the 36–50-pitch rest band; no threshold exception applies in this example.
Learning diagram
Learning diagram
Choose the action before beginning its motion.
Use the legal pitching setup for this division. With runners aboard, the set-position stop belongs to this delivery branch.
A separate choice before committing to a pitch. Rehearse the required step and throw with the coach; this is not the next step after delivery.
A separate step-off choice. Ask the coach to demonstrate the pivot-foot action and the rules that apply after leaving the rubber.